Paper Quilling Art - Beginner to Advanced
Art
February 2 | 4:47PM
Umang Class, Nagpur
Free
Paper Quilling Art - Beginner to Advanced
Art
February 2 | 4:47PM
Umang Class, Nagpur
Free
About the Event
Paper Quilling Art - Beginner to Advanced
Its all about Paper Quilling Art... A step-by-step course to fuel your creative & crafting journey of artistic creations
What you'll learn
- Learn to make various Quilling Shapes
- Learn Quilling techniques by doing 3 beautiful Quilling projects
- Learn to make different designs and techniques to make a Quilling Portrait
- Paper Quilling Art
- Get accustomed to Quilling Paper and different Quilling Tools
- Learn to make different types of flower and leaves to make a Quilling Flower Bouquet
- Learn different Quilling techniques from this course and use it to fuel your imagination to create masterpieces
Requirements
No prerequisites as such all you need is a bit of patience
ABCQ - Any Body Can Quill
Description
"Paper Quilling Art - Beginner to Advanced" is designed in such a way that it is useful for the beginners as well as the experienced quillers. The methods used here are simple to digest yet effective enough to create some extra-ordinary Art works. Through this course I will share with you not only the basic techniques of Quilling but also every little tips and tricks that I have learnt through my experience of over 7 years.
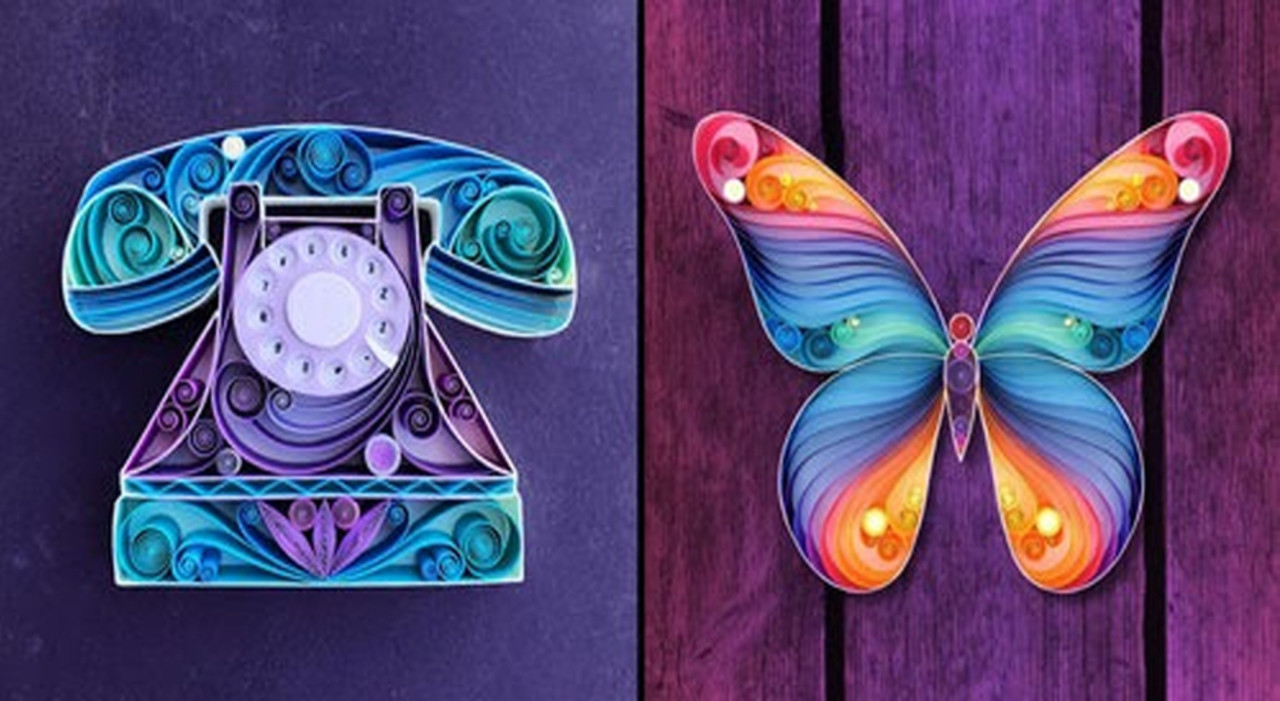
By using these Quilling tutorials you can learn to create wonderful piece of art such as greeting card, photo frame, beautiful portraits, colorful butterflies, birds, flower bouquet, decorative wall hangings and many more.
The technique of Quilling requires some time to get accustomed to but once you adopt to it your level of creativity will be beyond your imagination. After taking this Quilling course you will not only be able to create gorgeous artworks, you will feel immense joy while working with the colorful quilling strips. It will also enhance your patience and it will work as a tool of meditation which will increase your concentration level manifolds. So dive into the creative world of Paper Quilling!!
Who this course is for:
- People who are interested in nurturing hobby in arts and crafts
- People who enjoy creating decorative items
- People who want to learn the technique of Paper Quilling
- People who are interested in making innovative art and craft
- People who are interested to utilize their free time in a creative way
Course content
INTRODUCTION TO PAPER Quilling
Introduction to quilling
- It is all about Quilling paper art and what we can create using this technique. You will also see some of my Quilling Artworks.
Materials Required for Quilling
In this session we will talk about :
- Materials required for Quilling
- Different types of Quilling Tools
- Types of Quilling Paper
- Size, Shape and Thickness of Quilling Paper
- Sources of Quilling paper
- Making Procedure of Quilling Strips at home
Quilling Tools
In this session we will see how to use the following Quilling tools:
- Quilling Needle
- Super Quiller
- Quilling Shape Board
- Quilling Comb
- Quilling Crimper
- Border Buddy
- Mini Mold
Basic Quilling Shapes
In this we will learn how to make the following Quilling shapes:
- Loose Coil
- Semi-Tight Coil
- Tight Coil
- Ring Coil
- Teardrop
- Curved Teardrop
- Eye/Marquise
- Curved Marquise
Advanced Quilling Shapes
In this we will learn how to make the following Quilling shapes:
- Half-Circle
- Moon
- Triangle
- Arrow Head
- Square
- Diamond
- Tulip
- Heart
Scroll Shapes
In this we will learn how to make the following Quilling shapes:
- 'C' scroll
- 'V' scroll
- Heart scroll
- 'S' scroll
PROJECT 1 :3D Quilling Butterfly
INTRODUCTION TO PROJECT 1 :3D Quilling Butterfly
A brief introduction to what we will do in Project 1: 3D Quilling Butterfly. You can see result of Project 1 for your guidance.
Drawing of a Butterfly
Here we will draw the Butterfly. You can also see the template instead of drawing the Butterfly.
Making of Upper Wing of Butterfly : Part -1
Here we will make all the components required for making the upper wing of the butterfly.
Making of Upper Wing of Butterfly : Part -2
Here we will put together all the components made in the previous Class to complete the upper wing of butterfly.
Making of Lower Wing of Butterfly : Part -1
Here we will make all the components required for making the lower wing of the butterfly.
Making of Lower Wing of Butterfly : Part -2
Here we will put together all the components made in the previous Class to complete the lower wing of butterfly.
Making the body and Final Assembly
Here we will make the body and trunk of the butterfly. After that we will assemble all the wings and body parts and give it a 3D shape to complete the project.
Final outcome of Project 1: 3D Quilling Butterfly
Project 2 : 3D Quilling Sunflower
Making a 3D Quilling Sunflower
Here we will be making two different designs of Quilling Sunflower. The first one would have a inward bulge in the center. The second one would bulge out from the center. We will also learn to make a 3D base for the flower.
Assembling the Sunflower and making the Plant
In this session we would be making the plant with a few quilling leaves. We will attach the sunflowers to the plant in a 3D manner. We will also be pasting the 3D quilling butterfly made in previous section to make a complete Quilling Wall Hanging
Project 3 Quilling Flower Bouquet
Introduction To Project 3 Quilling Flower Bouquet
A brief introduction to what we will do in Project 1: Quilling Flower Bouquet. You can see the end result of Project 1 for your guidance.
Making Procedure of Single Colored 3D Quilling Flower
We will learn how to make a beautiful Paper flower using Quilling technique. We will also learn to give it a 3D shape to make it look more realistic.
Making Procedure of Multi-Color 3D Quilling Flower
We will learn to make another beautiful Paper flower using Quilling technique. This time we will use two different colors. We will also learn to give it a 3D shape to make it look more realistic.
Making Procedure of Quilling Leaves
We will learn how to make Paper Leaves using Quilling technique.
Assembling the Quilling Flower Bouquet
Now we will be arranging all the flowers and leaves made in the previous sessions to make a Beautiful Flower Bouquet.
Final outcome of Project 3: Quilling Flower Bouquet
Have a look at the final outcome of Project 1: Quilling Flower Bouquet.
Project 4 : Quilling Portrait (Quilling Girl).
Introduction of Quilling Portrait (Quilling Girl).
A brief introduction to what we will do in Project 2: Quilling Portrait (Quilling Girl).
Making the Bodyline of Portrait using Kirigami Technique
Here we will learn how to make the bodyline of the portrait by paper cutting. We will use a sharp paper cutter or pen knife. The outline image is available at our resource. You can see it and draw it on your own or print the image.
Making of Outline
Here we will to make the outline of hair portion using quilling strips. You can use the same technique to make outline wherever you want to make it in your future quilling projects.
Using Comb technique to make hairline.
Here we will use a Quilling Comb to make suitable Quilling Shapes for the hair portion and then arranging it suitably.
Making of Colorful Heart Shape
Here we will make colorful heart shapes using basic quilling shapes which you have learnt in Lesson 5. We will make heart shapes of different sizes and colors which we will use later to make the dress .
Decorative outlining of Dress
Here we will learn how to make decorative outline of dress by making of tiny Semi-Tight coils and arranging them in a beautiful manner.
Assembling the Gorgeous Dress
Now we will be arranging all the heart shapes of different color and size in a skillful manner so that it will give us an optimum result. We will be using the heart shapes made in Lecture 18.
Final outcome of Project 4: Quilling Portrait (Quilling Girl)
Have a look at the final outcome of Project 2: Quilling Portrait (Quilling Girl).
Gallery

Venue
Umang Class
Jaripatka Rd, New Indora, Nagpur, Maharashtra 440002, India
Get Directions
Terms & Conditions
Paper Quilling Art - Beginner to Advanced
Art
February 2 | 4:47PM
Umang Class, Nagpur
Free
Free


